

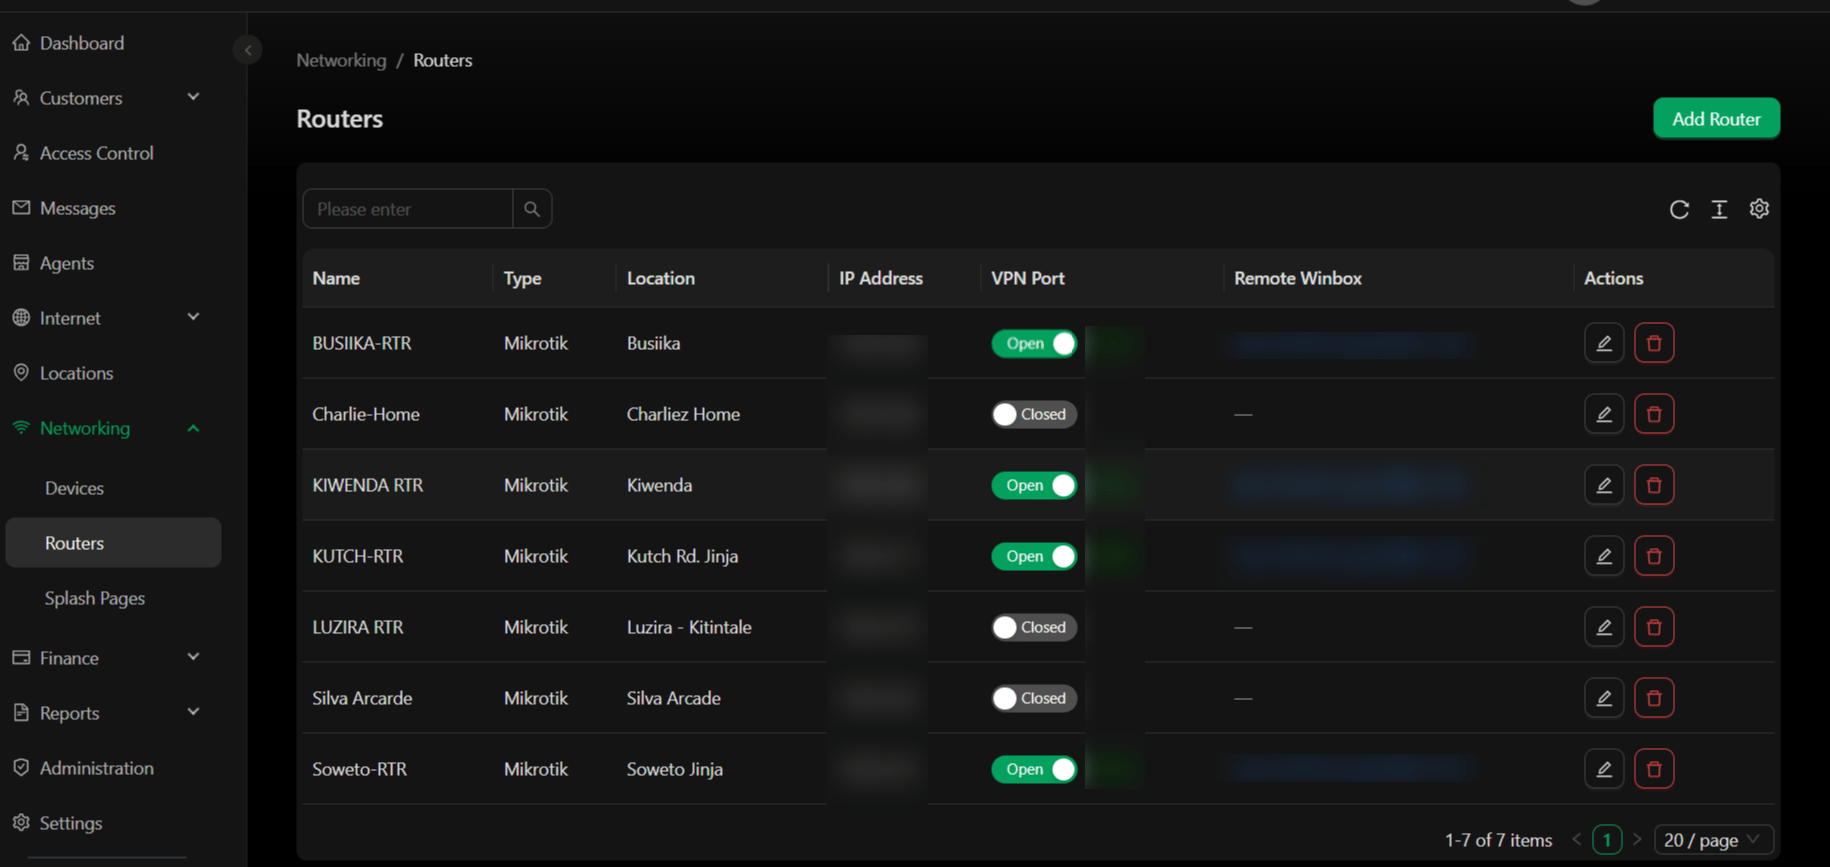
Features
- Link routers to locations
- Generate router configurations automatically
- Store credentials for API access
- View router-specific session data
- Support for MikroTik RouterOS 7.16.0+
Creating a Router in SoftISP
Step 1: Access the Router Management Page- In SoftISP, on the left menu, click on Networking → Routers
- Click the “Add Router” button
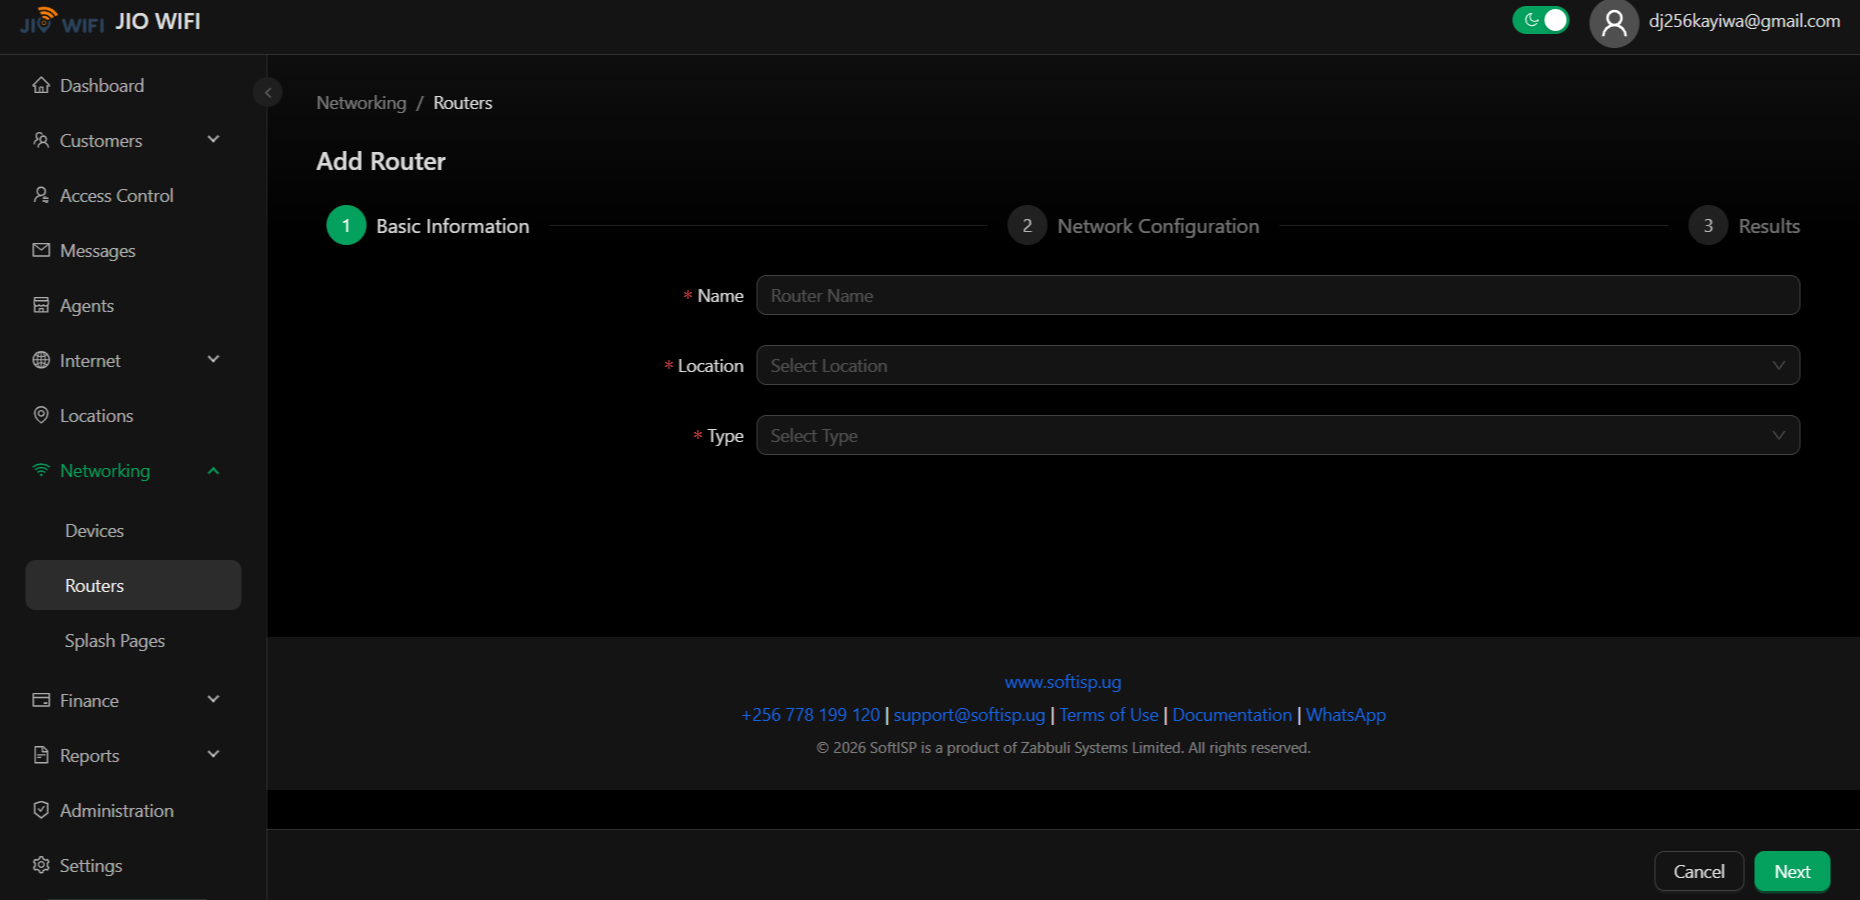
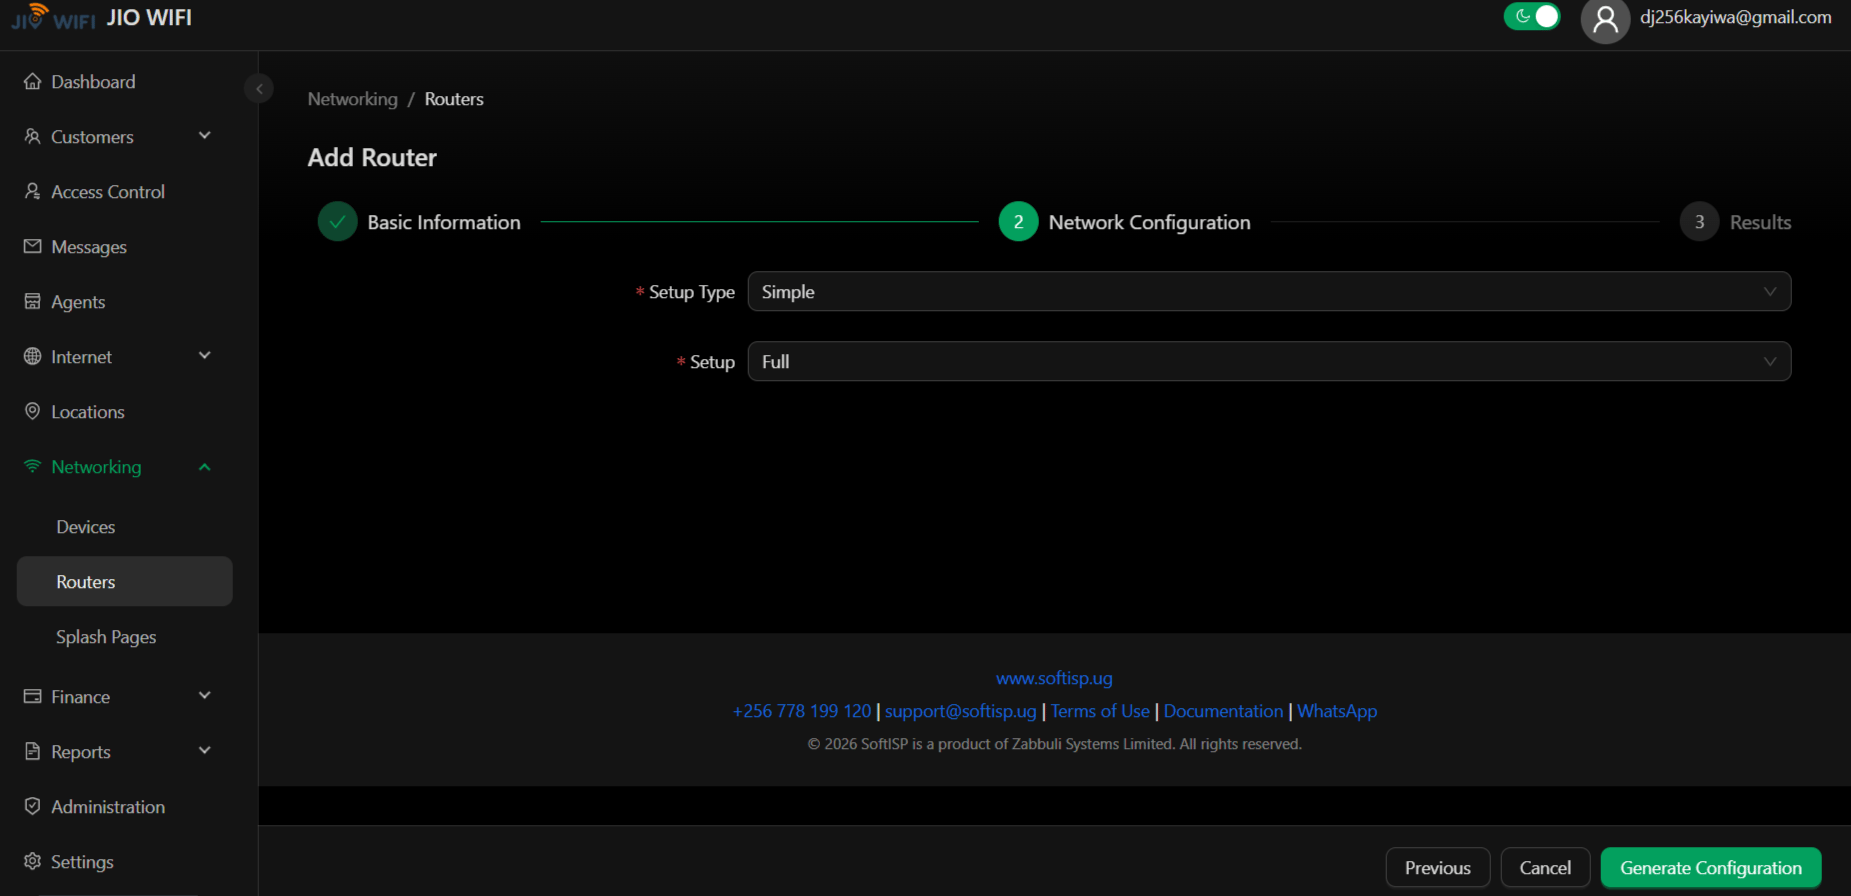
These default settings provide a complete, ready-to-deploy configuration suitable for most standard ISP deployments.
- Click “Generate Configuration” to create the router settings
- Click “Copy Configuration” to copy the generated script to your clipboard
- (Recommended) Click “Download Configuration” to save a backup copy locally
Configuring MikroTik Router
Prerequisites
- MikroTik device with RouterOS 7.16.0 or higher
- Admin access to the MikroTik WebUI or terminal
- The router configuration script generated in SoftISP (see above)
- Internet connectivity for the MikroTik device
- Log in to your MikroTik WebUI
- Navigate to System → Reset Configuration
- Check the following options:
- ☑ No default Configuration
- ☑ Do Not Backup
- Click “Reset Configuration”
- Log in to your MikroTik WebUI
- Navigate to IP → DHCP Client
- Click “New” (+)
- Set Interface to ether1 (typically the WAN/internet interface)
- Click “OK” to save and close
- Open Terminal in MikroTik
- Execute:
- Confirm you receive responses (indicates internet access is working)
- In MikroTik WebUI, navigate to System → Packages
- Check for available updates
- Download and install the latest stable version
- Reboot the router when prompted
The auto-provisioning script requires RouterOS 7.16.0+. Updating ensures full compatibility and access to latest security patches.
- Log in to your MikroTik and open Terminal
- Paste the script you copied/downloaded from SoftISP
- Press Enter to execute
- Bridge settings
- Hotspot network parameters
- Interface assignments
- Network policies as defined in SoftISP
- In MikroTik WebUI, navigate to Bridge → Ports
- Click “New” (+)
- Configure:
- Interface: Select the port (e.g., ether2, ether3, etc.)
- Bridge:
softisp-bridge(or your configured bridge name)
- Click “Apply” → “OK” to save and close
- Repeat for each port you want to include in the hotspot network
This step is optional and depends on your network topology. Bridging ports allows multiple physical interfaces to function as a single logical network segment.
A video on how to configure your Mikrotik router
Verifying the Configuration
After completing all steps, verify that your router is properly configured:Checklist
- Router appears in SoftISP Networking → Routers with “Online” status
- MikroTik shows internet connectivity (successful ping test)
- All bridged ports are active in the hotspot network
- Clients can connect to the hotspot SSID
- Traffic flows between clients and internet through the router
Troubleshooting
Router Shows “Offline” in SoftISP
- Verify the MikroTik has internet access (test with ping google.com)
- Confirm the configuration script ran successfully without errors
- Check that API credentials are correct in SoftISP settings
- Restart the MikroTik router
Script Execution Failed
- Ensure RouterOS version is 7.16.0 or higher
- Verify the script was copied completely (no truncation)
- Check for connectivity issues during script upload
- Reset and retry the configuration process
Hotspot Not Broadcasting or Clients Can’t Connect
- Verify bridge ports are configured correctly
- Check that the hotspot network name (SSID) is visible in MikroTik Wireless settings
- Ensure wireless security settings (password, encryption) are configured
- Test with a nearby device to rule out client-side issues